
How to Get a Japan Tax Refund at the Airport (Nov 2026 Refund System)
Some travel links on The Standard Japan are affiliate links. If you book through one, we may earn a commission at no extra cost to you.
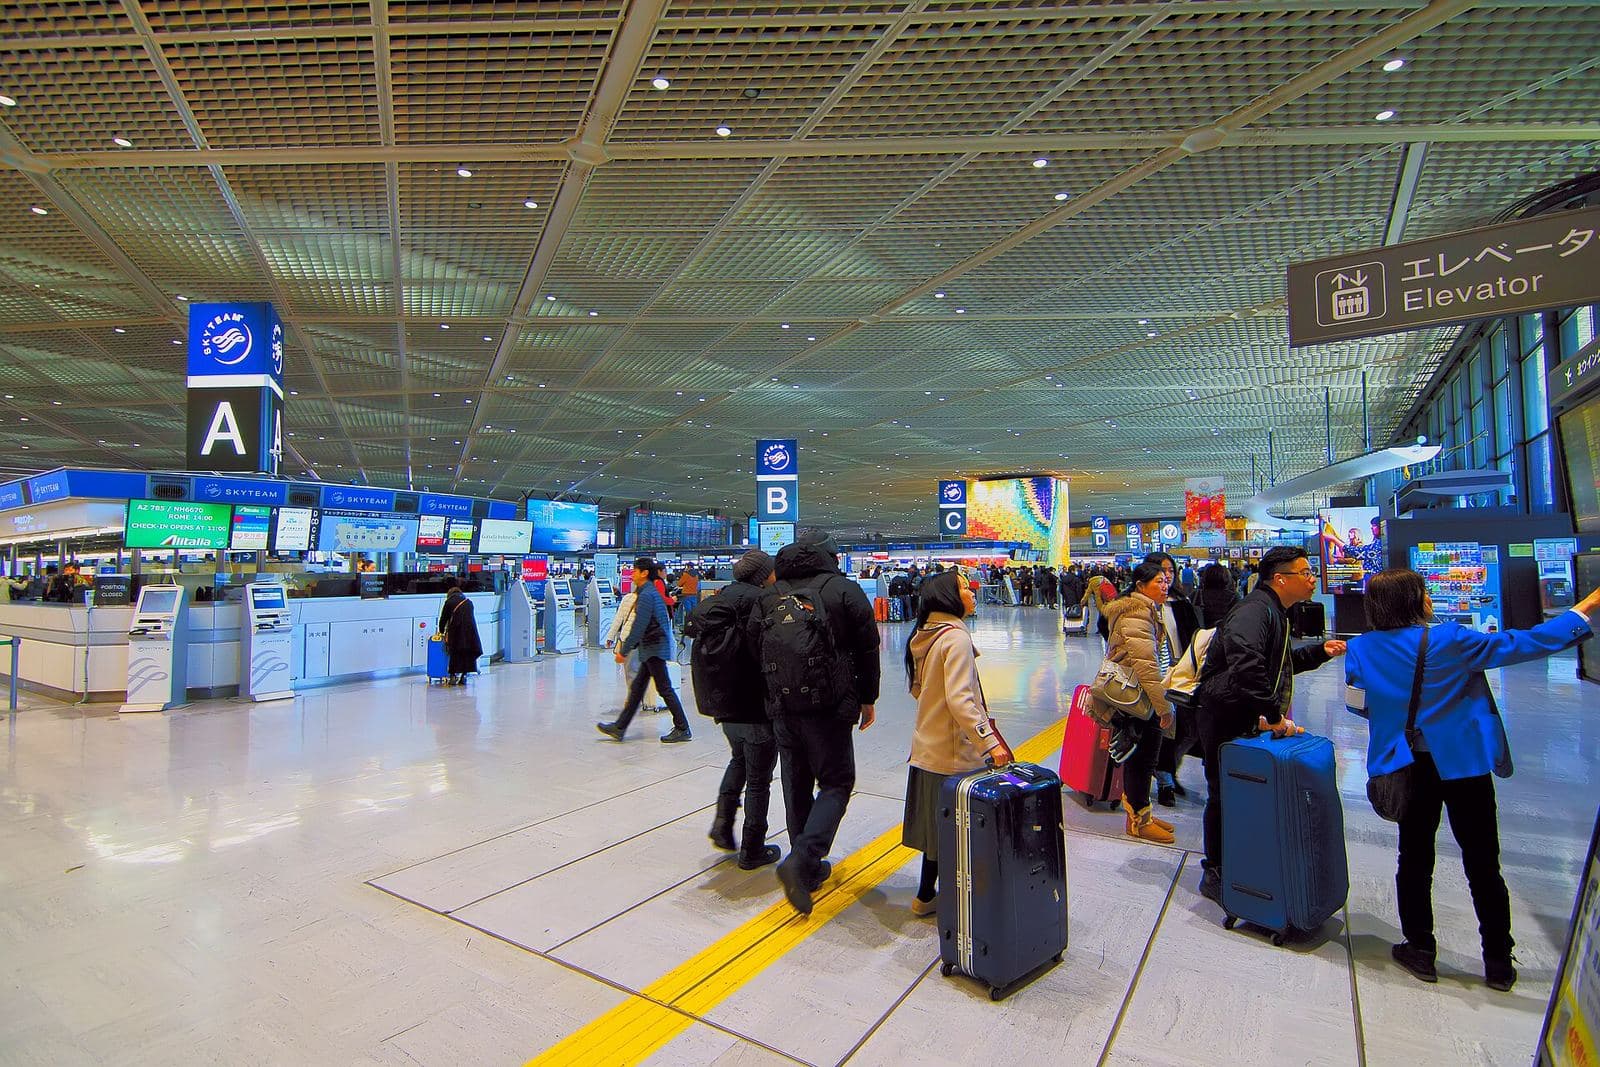
Japan’s tax-free shopping rules changed on November 1, 2026. For purchases on or after that date, you no longer buy at a tax-free price in the store. You pay the tax-inclusive price, prove at departure that you are taking the goods out of Japan, then receive a refund of the consumption-tax equivalent.
Early traveler reports from the first days of the rollout describe the process as workable when you prepare ahead: set up Visit Japan Web, arrive with extra time, and finish the kiosk or Wi-Fi check before you drop bags. This guide is the step-by-step version.
What Changed on November 1, 2026
| Until Oct 31, 2026 | From Nov 1, 2026 | |
|---|---|---|
| At the shop | Often paid a tax-free (ex-tax) price | Pay the tax-inclusive price |
| At departure | Confirmation / paperwork at the airport | Customs confirmation via kiosk or Visit Japan Web |
| When you get the money back | Built into the purchase price (or store procedure) | After customs confirms export — card, cashless, or cash (varies by shop) |
| Consumables packaging | Special sealed packaging common | Special packaging abolished — but you still must not consume the items in Japan |
Official sources: Japan Customs, the Japan Tourism Agency traveler page, and JNTO’s Refund Method overview.
Purchase-date rule matters. Goods bought on or before October 31, 2026 follow the old rules. Goods bought on or after November 1, 2026 follow the refund system. If your trip straddles both dates, treat each receipt by its purchase date.
Who Can Claim and What’s Eligible
Eligible purchases (typical tourist case):
- Total ¥5,000 or more (tax excluded) at the same store on the same day
- Goods you will personally carry out of Japan
- Confirmed for export within 90 days of the purchase date
Not eligible / will fail customs confirmation:
- Gold or platinum bullion and items already exempt from consumption tax
- Quantities you cannot personally take out with you
- Food, drinks, cosmetics, or other consumables opened or used in Japan
- Any receipt where even one listed item is missing when you present for customs
Customs confirmation is per purchase / receipt. Missing one item from a receipt usually means no refund for that entire receipt, including the items you still have.
Step 1: Set Up Visit Japan Web Before You Shop
Visit Japan Web (VJW) is a free official web service (browser only — no official app). For tax refunds it now does three related jobs:
- Arrival immigration / customs QR codes
- Tax-free shopping QR code in stores
- Online refund / customs confirmation at major airports on departure
Do this early in your trip (full walkthrough: Visit Japan Web guide):
- Open the official site at vjw.digital.go.jp and create an account with email verification.
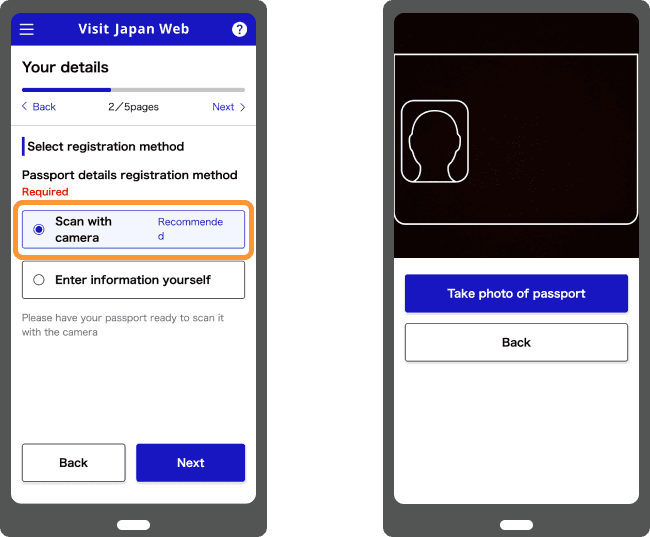
- Register your passport — for the shopping QR code, scan the passport with your camera (manual entry alone is not enough for that feature).
- After you enter Japan, create your tax-free shopping QR code by scanning the landing-permission sticker QR in your passport.
- Show the live QR code at participating shops (screenshots and printouts are not accepted). The shopping QR is typically valid for 24 hours or until your permitted stay ends — refresh it when it expires.
- Follow each shop’s instructions to register how you want the refund (card, cashless service, or cash where offered).
Registering VJW or creating a shopping QR code does not by itself pay your refund. You still need the store’s refund registration and airport customs confirmation.
Step 2: Shop and Pay the Tax-Inclusive Price
- Shop at a participating tax-free / tax-refund store.
- Present your passport or your Visit Japan Web tax-free shopping QR code.
- Pay the full price including consumption tax.
- Complete whatever refund registration the shop asks for (refund destination, provider, etc.).
- Keep receipts and keep every listed item with you until customs confirmation is done.
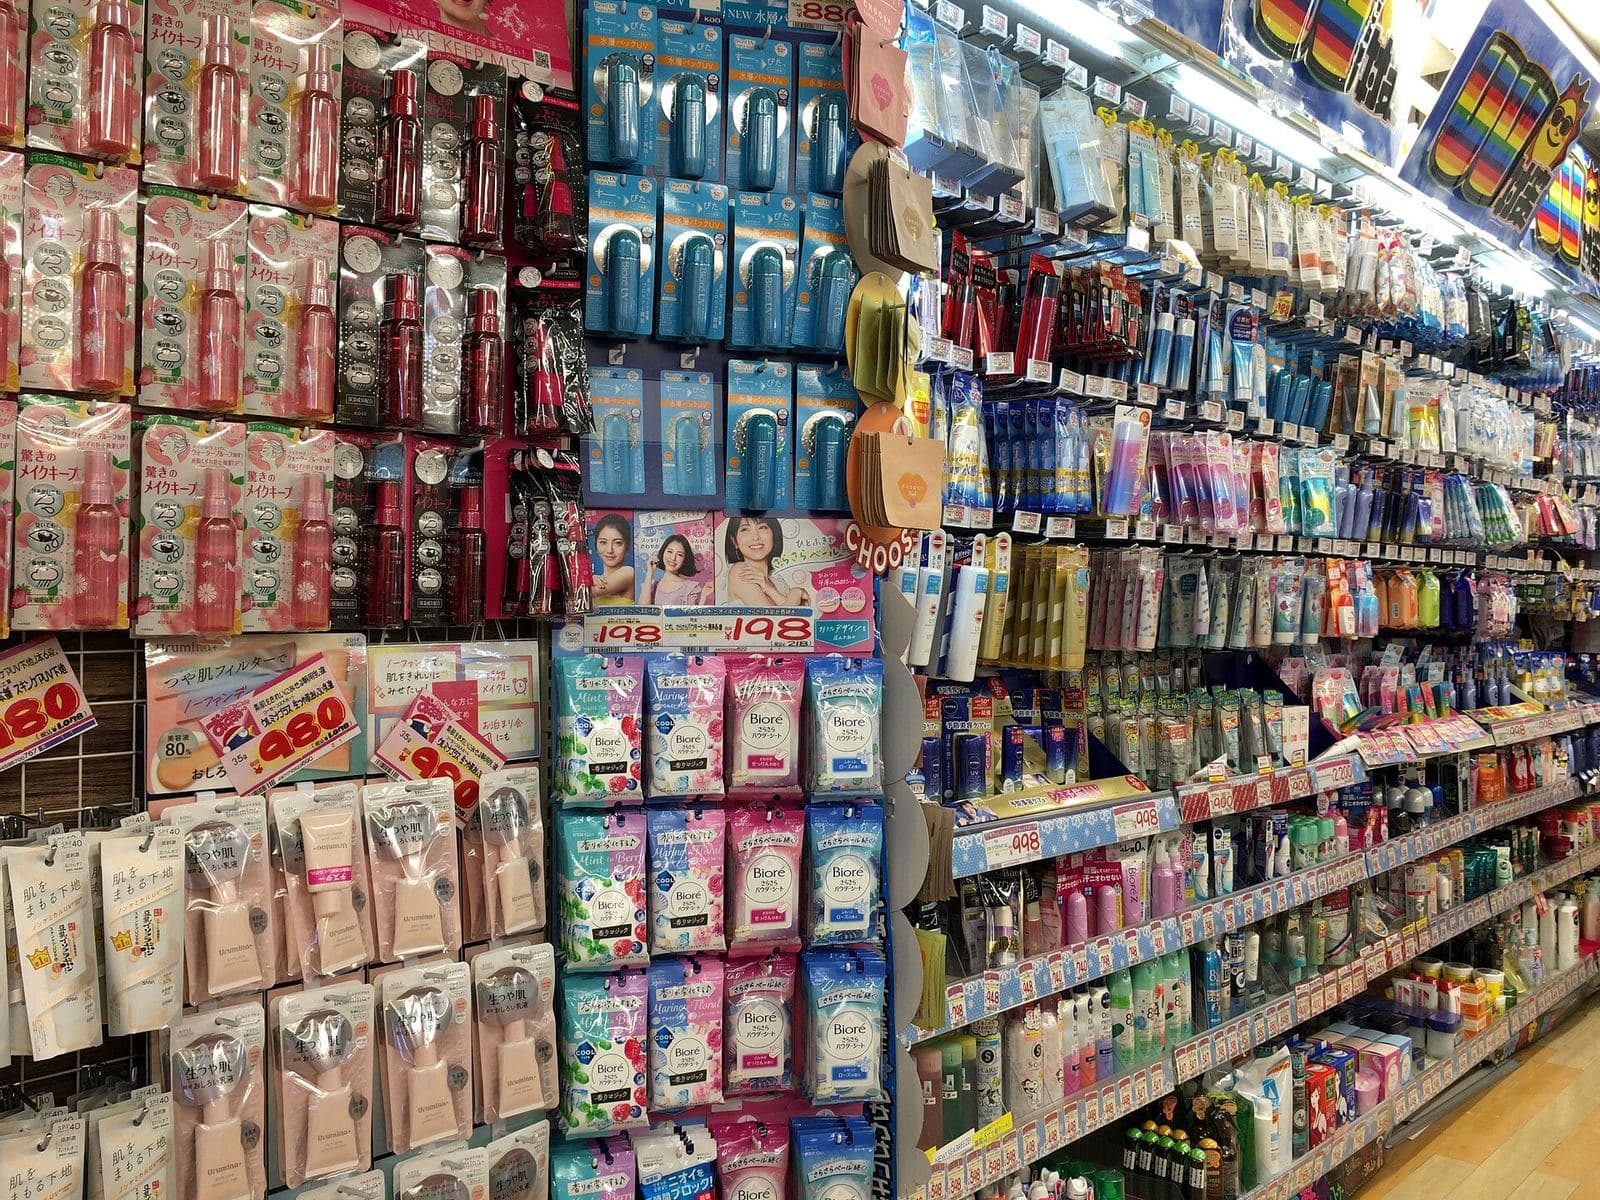
- Do not open or use consumables you plan to claim.
Ask staff which refund method they use. Some push card / cashless refund after confirmation; others support cash refund in yen at airport counters or self-service machines after passport control. Rules vary by shop and refund operator — the airport cannot invent a method the shop didn’t set up.
Step 3: Arrive Early and Keep Purchases With You
This is the step most people get wrong.
- Complete customs confirmation before airline baggage check-in.
- Once bags are checked, you generally cannot pull them back for tax-refund inspection.
- Do the procedure on the day you leave Japan, at the final international departure airport or seaport.
- If you fly domestic → international (e.g. Osaka → Haneda → home), keep refund-eligible items in carry-on until you finish customs at the international departure airport.
- Arrive early. If you abandon a required inspection because you’re late for boarding, customs confirmation is incomplete and you lose the refund. Airlines and customs will not compensate for that.
Practical packing tip: keep a dedicated “refund bag” — one tote with every claimed item and every receipt. A red-result inspection is far less painful when you are not unpacking three suitcases at the counter.
Step 4: Complete Customs Confirmation (Kiosk or Visit Japan Web)
Option A — Tax refund kiosk
- Go to the international departure lobby before security / check-in bag drop.
- Scan your passport at the tax-refund / tax-free procedure kiosk.
- Read the result on screen.
Kiosk locations and customs inspection maps are published by Japan Customs. Hours vary by airport and terminal.
Option B — Visit Japan Web over dedicated Wi-Fi (recommended when available)
Available at: Narita, Haneda, Kansai (KIX), Chubu Centrair, Fukuoka, New Chitose, and Naha.
- In the designated departure-lobby area (before the security checkpoint), connect to the dedicated network:
- SSID:
Customs_WiFi_For_TaxRefund - Password:
jcustoms
(Some airports also post a QR code for the same network.)
- SSID:
- Open Visit Japan Web, log in, tap Refund procedures.
- Review the purchase records and confirm.
- Check the result. If it shows not completed / inspection required, go to the customs inspection area.
Online VJW confirmation is aimed at travelers with status such as Temporary Visitor, Diplomat, or Official — Japanese nationals generally cannot use the VJW online path and should use the kiosk / counter process instead. If VJW fails, use the kiosk.
Step 5: Read Green vs Red — and Finish Inspection If Needed
- Green / completed: Customs confirmation is done. Proceed to check-in and bag drop.
- Red / not completed / inspection required: Take all tax-refund purchases to the designated customs inspection area and follow staff instructions. Only after inspection is cleared is confirmation complete.
Early traveler feedback in the first days of the new system often describes the kiosk path as quick when purchases are logged correctly — and as a stop at the customs desk when the system flags an issue. Plan for both outcomes. Build buffer time into your airport arrival; a green result can take seconds, a busy red-result line can take much longer.
Step 6: Collect Your Refund (Card, Cashless, or Cash)
Customs confirmation is not the refund itself. After confirmation:
- Card / cashless: Use the refund flow the downtown shop set up (provider website, app, or instructions on your receipt). Methods differ by store.
- Cash: Where the shop supports cash, collect Japanese yen at the airport’s cash refund counter or self-service kiosk — typically after passport control, not before.
- Airport duty-free after immigration: Purchases in the post-passport-control duty-free area are usually already tax-excluded. Those do not need this downtown refund procedure.
Keep your refund destination registered even if the kiosk already turned green. Incomplete refund registration is a common reason people finish customs and still wait for money.
Haneda Self Tax Refund example
At Haneda, Japan Airport Terminal and GLORY’s Self Tax Refund machines (where your shop participates) let eligible travelers scan a passport and receive a cash refund in about a minute after customs confirmation:
| Terminal | Tax-free procedure kiosks | Self Tax Refund (cash, after security / immigration) |
|---|---|---|
| Haneda T2 | Before 3F security · roughly 6:00–2:00 · 8 units | After 3F security · roughly 6:45–1:30 · 5 units |
| Haneda T3 | Before 3F security · 24 hours · 13 units | After 3F security · 24 hours · 5 units |
| Haneda T1 | No tax-refund service | — |
Confirm your shop is eligible for Self Tax Refund before you rely on it. Details: Haneda tax refund page.

Airport Checklist by Situation
Big shopping trip / many receipts
Arrive earlier than usual. Prefer Visit Japan Web on the dedicated Wi-Fi if your airport supports it, so you are not stuck in a kiosk queue. Keep the refund bag packed and labeled by receipt.
Domestic flight → international departure
Do not check refund-eligible goods through to your final overseas destination from the first airport. Carry them until customs confirmation at the international departure airport.
Cruise / fly-and-cruise
Finish the procedure at your final departure point from Japan (often the domestic airport after the cruise returns), not an intermediate port call. Cruise passengers may also need a landing permit with the passport — follow customs instructions.
Seaports and smaller airports
Terminals exist beyond the big seven, but dedicated VJW Wi-Fi for online confirmation is limited to Narita, Haneda, Kansai, Chubu, Fukuoka, New Chitose, and Naha. Elsewhere, plan on the kiosk.
Common Mistakes That Cost the Refund
- Checking bags first, then realizing purchases are inside.
- Leaving one item from a multi-item receipt at the hotel or in a friend’s suitcase.
- Doing customs confirmation at the wrong airport on a domestic connection.
- Assuming Visit Japan Web registration alone equals a paid refund.
- Showing up too late to finish a required red-result inspection.
- Using unofficial “Visit Japan” apps — stick to the official website.
- Opening cosmetics or eating snacks from a claimed receipt before departure.
- Trying to finish the procedure the day before the flight (it must be departure day).
FAQ
How does Japan’s new tax refund system work after November 1, 2026?
You pay tax-inclusive prices at participating shops. Before you leave Japan, complete customs confirmation at your final international departure airport or seaport (kiosk or Visit Japan Web). After confirmation, the shop or its refund provider returns the consumption-tax equivalent by card, cashless method, or cash where supported.
Do I still get about 10% back?
Japan’s standard consumption tax rate is still the basis of the refund amount. You pay tax-inclusive at the shop; after customs confirmation, the shop/refund operator returns the eligible tax equivalent. Provider fees or rules may apply — ask at purchase.
Is Visit Japan Web mandatory for the tax refund?
No. You can use a tax-refund kiosk instead. At the seven major airports, Visit Japan Web over dedicated Wi-Fi is often faster if you already set it up. Registering VJW alone does not complete the refund.
Is cash refund always available?
No. Cash in yen is only available when the shop’s refund arrangement supports airport cash pickup (including Self Tax Refund machines at some airports). Many travelers are steered to card or cashless refund. Confirm at the store.
Can I finish the procedure the day before my flight?
No. Customs confirmation is for the day you depart Japan.
Do I need a boarding pass for the kiosk?
No. Passport (or the Visit Japan Web flow) starts customs confirmation.
What if I already ate some of the snacks on a tax-refund receipt?
Do not force a complete confirmation for a receipt with missing or consumed items. Report the situation to a customs officer at the counter. Expect that receipt’s refund to fail.
What happens if I get a red result?
Take every tax-refund purchase to the designated customs inspection area and follow staff instructions. Until inspection is cleared, customs confirmation is incomplete and you should not check those bags.
Where should I check official updates?
- Japan Customs — Tax Exemption (Refund) Program
- Japan Customs — kiosk and inspection maps
- Japan Tourism Agency — traveler Refund Method page
- Your departure airport’s tax-refund page (Narita, Haneda, KIX, Centrair, Fukuoka, New Chitose, Naha, etc.)
Related guides
- Visit Japan Web 2026: How to Fill It Out Before You Land
- Japan Travel Tips
- How Much Does a Trip to Japan Cost?
Bottom Line
The new Japan tax refund system is less “discount at the register” and more “pay tax now, prove export at the airport, then get the money back.” The travelers who have the smoothest time:
- Set up Visit Japan Web and the shopping QR early,
- Register a refund method when they shop,
- Keep every receipt item together, and
- Finish kiosk or VJW customs confirmation before check-in — with enough time for a red result.
Do those four things and the November 2026 change is manageable. Skip them, and the airport becomes the most expensive place on your itinerary.
Did this guide help you plan?
Responses are collected through analytics. For factual corrections, contact the editors.
Travel Desk
The Standard Japan
Trip planning: seasons and crowds, getting around, airports, where to stay, and the practical steps before and after you land.
Facts are taken from primary sources (operators, venues, official tourism and government pages) and dates and prices are checked on the day of writing. Pages are revised when those sources change.
Expertise
Seasonal crowds, transport and airports, itineraries, lodging, pre-trip logistics
Have a question or a correction?
Ask us anything about How to Get a Japan Tax Refund at the Airport (Nov 2026 Refund System), or tell us what we got wrong. We reply within 24 to 48 hours.

Related Stories
Narita vs Haneda: Which Tokyo Airport to Fly Into (and How to Get to the City)
Haneda is 30 minutes from central Tokyo; Narita is 60–90. Fly into Haneda if fares are similar. Transfer options, costs and times for both airports.
First Day in Tokyo: Airport to Hotel to First Night (2026)
First day in Tokyo for tourists: Haneda vs Narita arrival, Suica, luggage, jet-lag dinner plan, and what to book so day one is not a wasted scramble.
Niseko Lodging Tax Just Changed to 3% (Nov 1, 2026): What Ski Trips Cost Now
From November 1, 2026 Niseko’s lodging tax is a flat 3% of the room-only rate — town plus Hokkaido combined. How it’s calculated, who pays more, and what to budget.